WHAT TOOK YA?
 Seriously! In a previous post, some eons ago, I hinted that sometimes I 3D print jewelry. Not only did it take me said eons to finally sit down and start a blog post about this, the whole process of designing and 3D printing bracelets itself is also something of which the Dutch would say, “you can’t go over one night of ice” Although… It should be noted that in general the Dutch don’t use English for their proverbs and that most Dutch understand that Dutch proverbs translated to English don’t make a whole lot of sense. But I digress…
A few years ago now I saw a video on YouTube about using a 3D printer to create hinges that were “print in place” (or PIP as it is sometimes called). It’s a term used to describe 3D prints that are a moveable, or flexible mechanism that doesn’t require any assembly after printing. They can be used straight from the printer. This is a rather unique manufacturing technique that can only be accomplished with additive manufacturing techniques. I quickly realiz ed that you can make chains this way. So I set out to do just that. I won’t make you sit through all the boring details, but this is harder than you think… At least, I found it much harder than I had hoped it would be. However, I am nothing if not stubborn and after a few months of tinkering in a CAD program and printing a bag full of prototypes that failed in various (sometimes spectacularly hilarious) ways… Let’s just say I learned a lot!
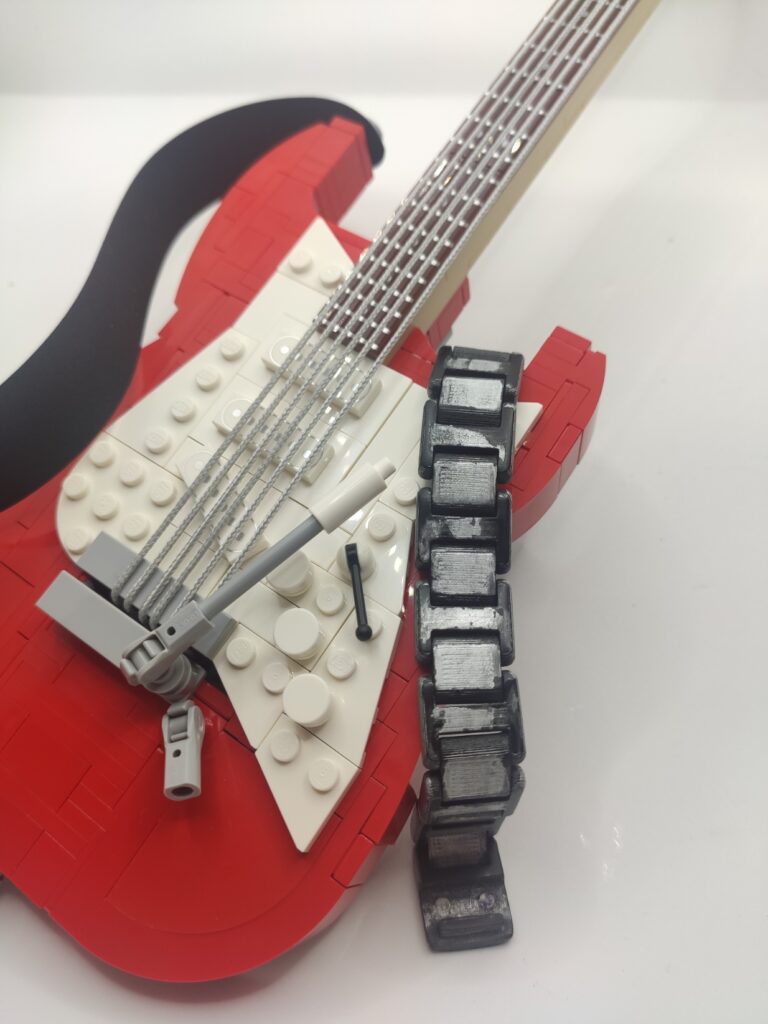
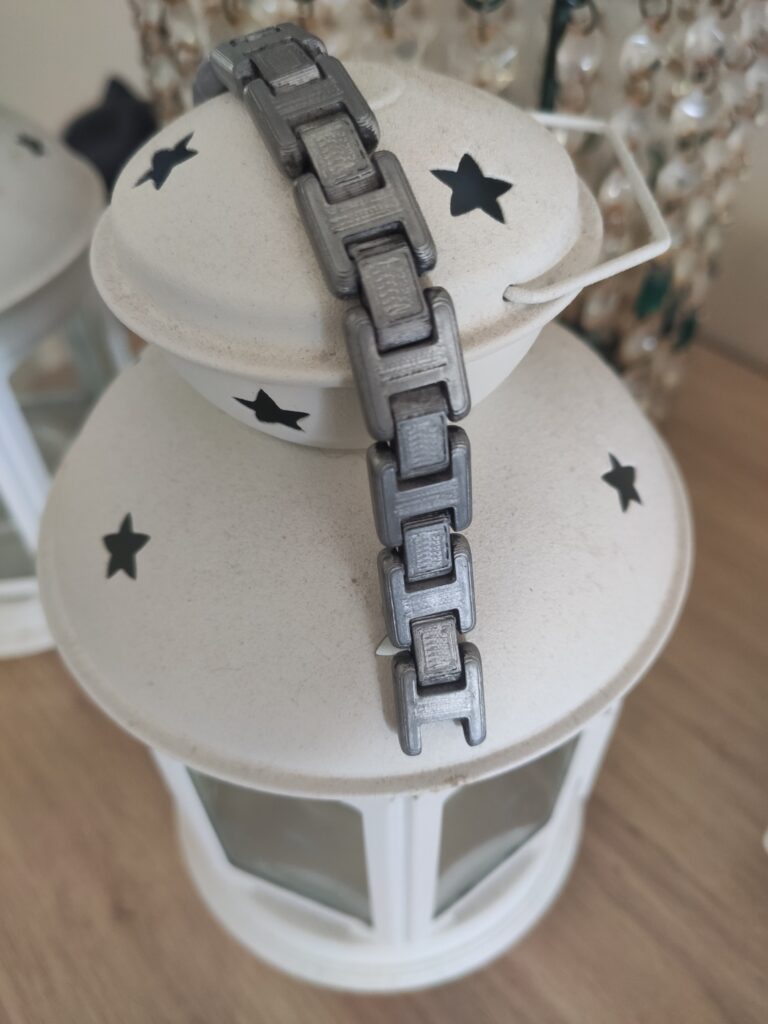
I had to overcome plastic fatigue, printer artifacts, size constraints and a slew of other boring crap. But these days I am happy to report I can reliably print a rather sturdy, reasonably decent looking and completely cost-ineffective bracelet. I have done this in various configurations and the design I ended up with means that I can even print multi-color versions even though I don’t own a printer that can print in more than one color.